Find and Order Future Products
Note: “Future Products” tab is only visible for users with ordering rights!
The Future Products Tab
After selecting the Future Products tab you will see the filter gallery for Acquisition with three different filters:
- Collection
- Region
- Time
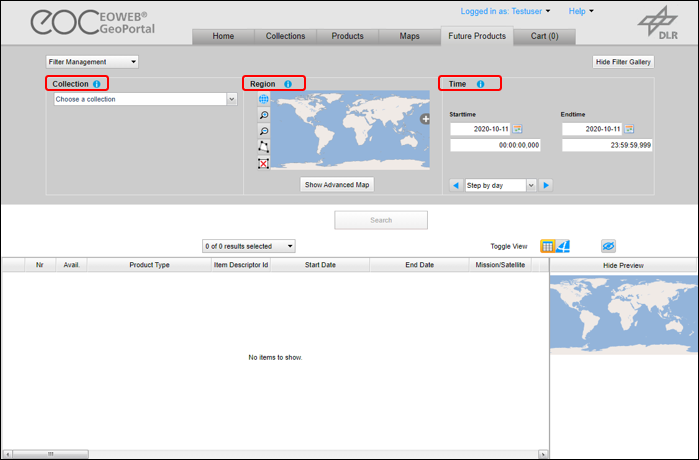
Under the filter gallery the “Search” button is located in the center. The “Search” button is initially deactivated and becomes active after all three filters are set.
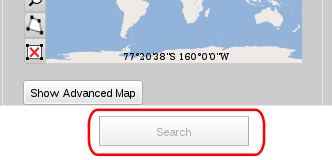
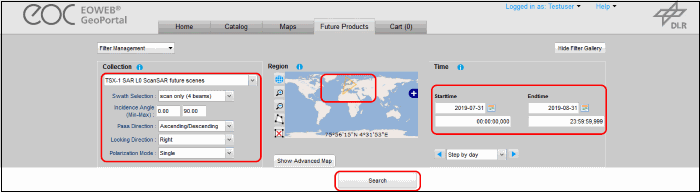
Pressing the activated “Search” button will perform the search for future products.
Collection Selection
First select the collection in the selection list in the left area of the filter gallery.
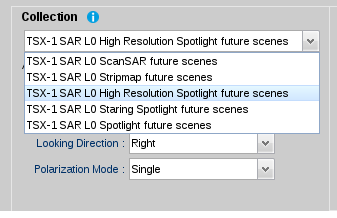
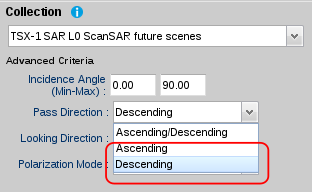
Depending on the selected collection, the presented advanced criteria are different.
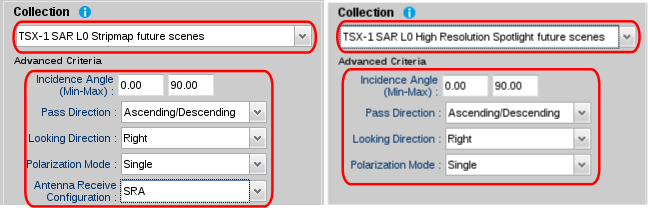
You can edit and alter the default values of the advanced criteria.
Depending on the selected collection, the draw button in the region map changes its type from “Polygon” to “Point” selection and vice versa.

Region Selection
After the collection is selected, you can select an area of interest (AOI) in the map in the center area of the filter gallery.
To draw a polygon, select the “Polygon” button and Left-Click on the map to outline a polygonal area. Double-Click to close the polygon. Only polygons that are drawn in anti-clockwise direction will be accepted.
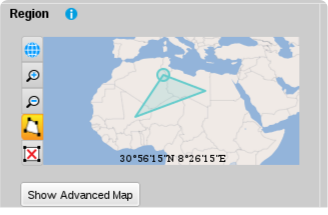
A point selection is activated for particular collections. Select the “Point” button and Left-Click on the spot on the map that is of interest. A small circle will be drawn on the map.
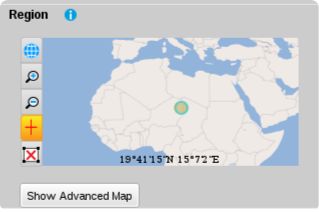
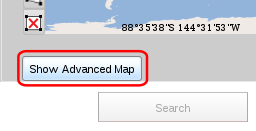
The advanced Map can be opened with the “Show Advanced Map” Button
In case the selected collection requires a polygon selection, the tab “polygon” is activated in the advanced map window. Here you can add polygon points manually by selecting the “+” button and editing latitude and longitude. The “+” button adds a new row at the end of the list.
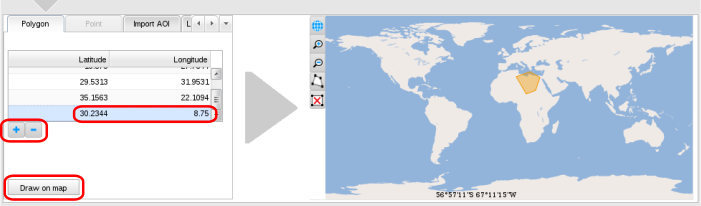
With the “-” button a selected row (representing a point) will be removed from the list. With selecting the “Draw on map” button, the polygon will be set in the map. Degree, minutes, seconds lat/lon values are handled internally as a double type.
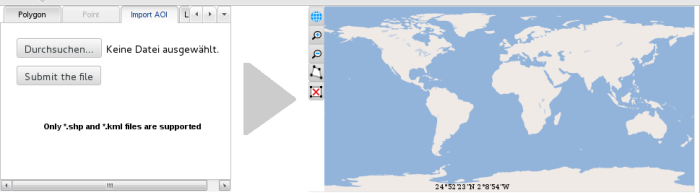
You can also import another AOI like shape file or kml file using the “Import AOI” tab. The coordinates have to be specified using WGS84. The AOI is then set to the outer rectangle bounding box of the specified shape/kml (i.e. min/max latitude and min/max longitude).
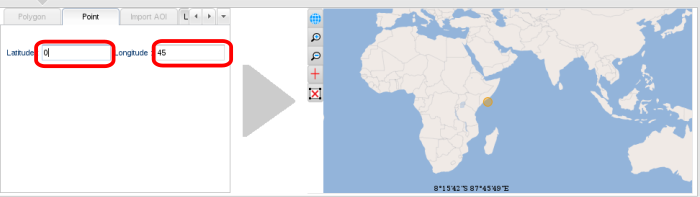
In case the selected collection requires a region selection with a point, the tab “point” is activated in the advanced map window. Here you can set the coordinates for a spot. After editing latitude and longitude, the small circle representing the desired position is drawn on the map.
Time Constraint Selection
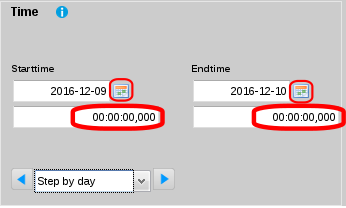
For selecting the time range (start and stop time) use the right area of the filter gallery.
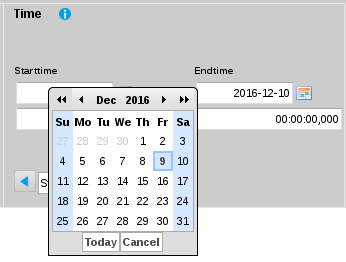
You can use the date picker or alternatively, the date can also be set directly by typing into the date fields. Use the time fields for setting the time (hours, minutes, seconds and milliseconds)
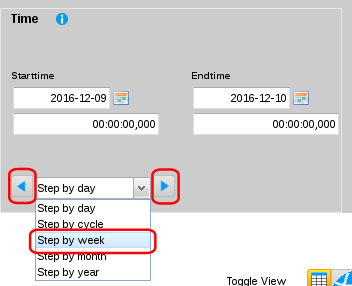
You may choose a time range for shifting the selected date and time forward and backward. Use the Drop-Down list for selecting the time range and shift the time range forward or backward with the arrow keys.
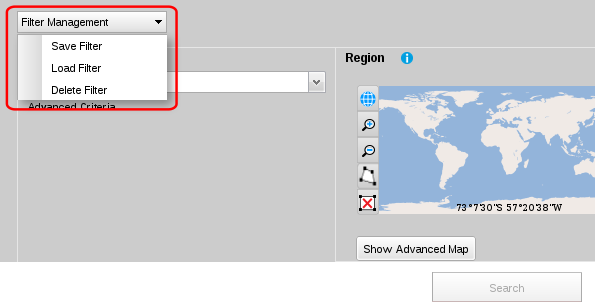
Filter Management
Selected Filter can be saved, loaded or deleted in the “Filter Management” menu.
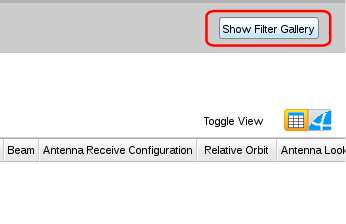
The “Hide Filter Gallery” button saves screen space but leaves the filter setting unchanged.

Select “Show Filter Gallery” button to redisplay the filter gallery.
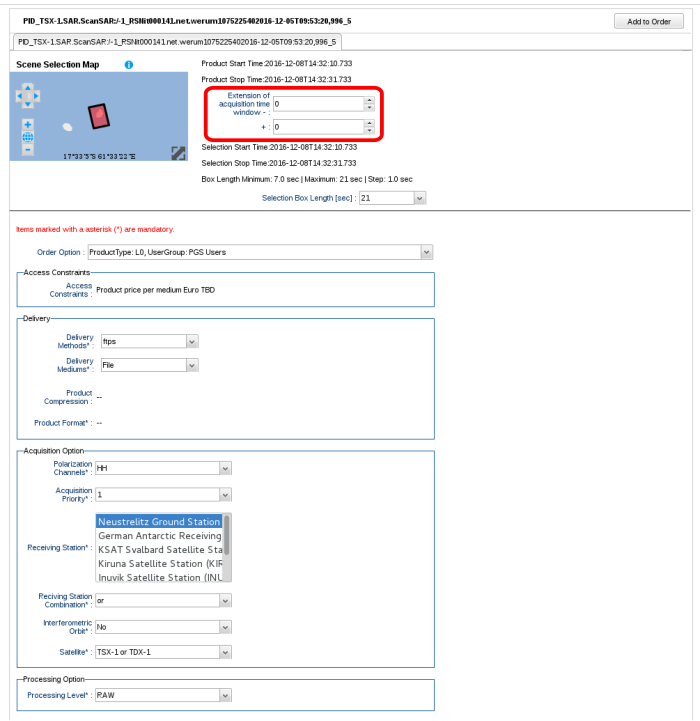
Order Future Products
Ordering Future Products differs only marginal from the ordering of catalog products. In the order options view you have the option to set the extension of the acquisition time window.